COURSE – Capturing Childhood: How to Take Better Photos of Your Children
The purpose of this online photography course is to help you take better photographs of your children and preserve those fleeting moments, no matter what kind of camera you are using.
INTRODUCTION
I started my photography business before I had kids so by the time my daughter came around I was geared with an expensive camera and was taking approximately 2,453 photos every day.
My daughter is now eight years old and thousands and thousands of photos later I have a few tips to share on how to get really good photos of your children. And I mean really good photos no matter what kind of camera you have on you. I actually sold my DSLR and some really good lenses earlier this year for a few different reasons, one of which being, that while it took really good photos, it was so big and bulky that I ended up not taking it with me anywhere – it’s hard to get any photos when you don’t even have a camera with you.
This course is all about getting better photos of your children, no matter what kind of camera you are using, to help preserve those fleeting childhood days.
This course is set up in five modules:
- ONE: Composition
- TWO: Capturing the Everyday
- THREE: Create a Mini Photo Session
- FOUR: Lighting
- FIVE: Editing
PUT IT INTO ACTION
Each module has a section called “Put it into Action” which gives you some practical ideas on how you can take what you’ve learned in that module and put it into action! This step is not necessary but I think you will notice a big difference if you actually do this.

First, before we get started on on the five modules I have three things I want to say first:
#1 DON’T START WITH “SAY CHEESE”
I’m going to climb on my soap box once here quickly and beg you to never ask your kids to “say cheese” to the camera. Nothing will churn out a more unrealistic photo than the “cheese” face. It’s a terrible habit to get into and when I would photograph families the kids that had been trained to “say cheese” were always the hardest to photograph.
#2 HAVE PATIENCE & WAIT FOR THE SHOT
Sometimes it takes a while so make sure you have patience, as soon as you start to get frustrated you children can sense it and all smiles will be off. If you feel like you have had lots of patience but things still aren’t working I would suggest putting the camera down and trying again later or a different day, or even focusing on one of their siblings for a while. You don’t want them to feel pressure when you have the camera –that is a feeling they will remember and it will be harder to get photos of them in the future.
#3 ALLOW TIME FOR RETRAINING
If you have been one of the people who in the past have been more aggressive in trying to get your kids to look at the camera (as in, always saying their name or telling them to “say cheese”, etc) it may take a little while to “re-train” yourself and your children. If this has been the case these techniques might not work until you give your kids a bit of a break from looking at the camera.
Now, let’s move on to Module One!
Module One: Composition
This module is going to be all about how you set up the shot in your camera, for example, how zoomed in you are, where in the frame your subject is, the background, other visual elements, etc.
Composition is vital to get right in your camera, while you can crop a little to fix it, for the most part you will want to make sure you have this set up properly before you take the shot.
THE RULE OF THIRDS
In photography there is something called the rule of thirds, which just means that if you had a grid on your photo so there were three horizontal sections and three vertical sections you would have a total of 9 sections. Like so:

The idea is that you want to put the points of interest (usually your child, or their eyes, or what they are doing, etc) along the lines or where they intersect.
This “rule” can really help your photos look a lot better but you definitely do not need to follow this all the time.
Here are some examples:

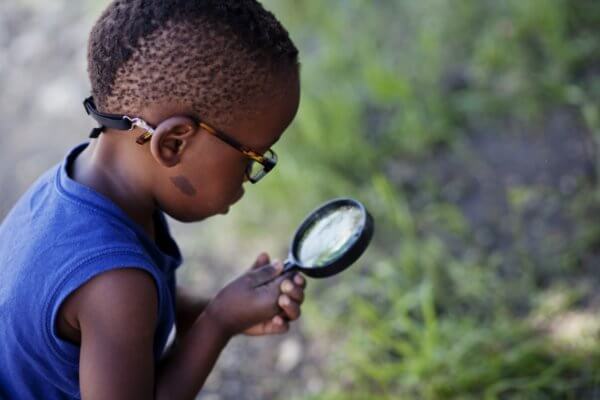
Here her eyes are approximately on the top line.

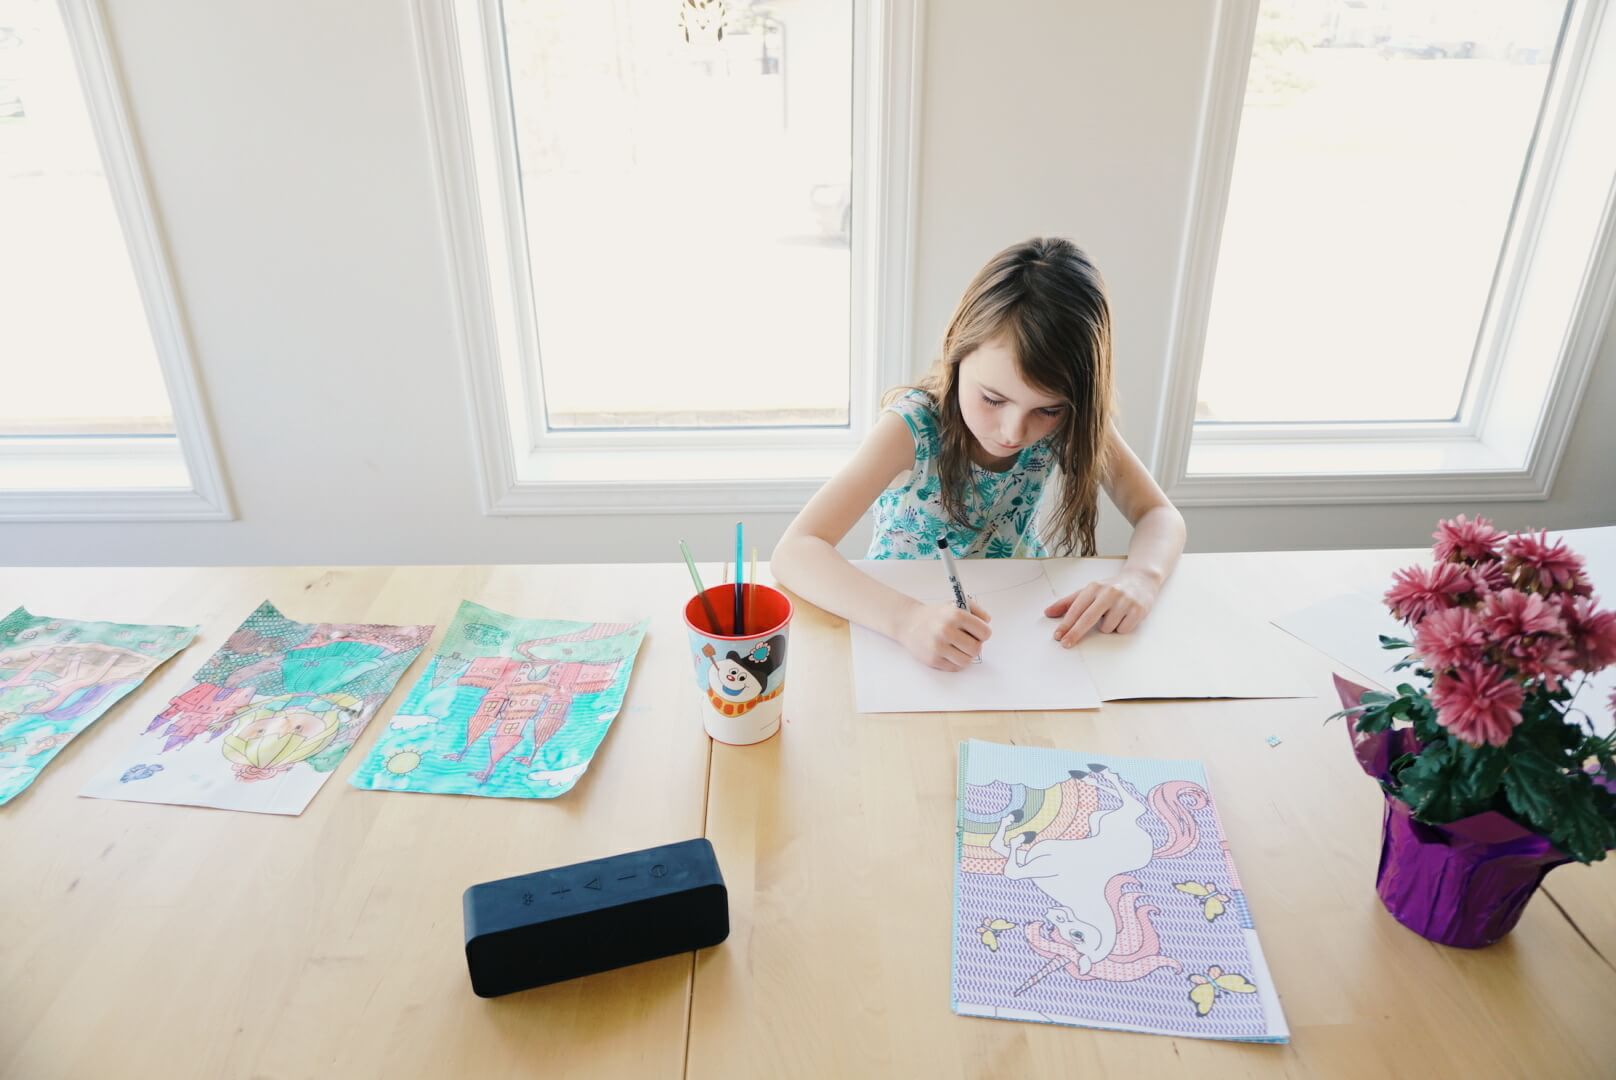
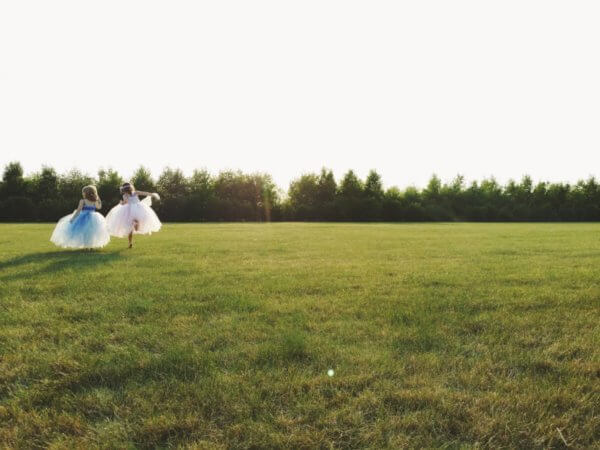
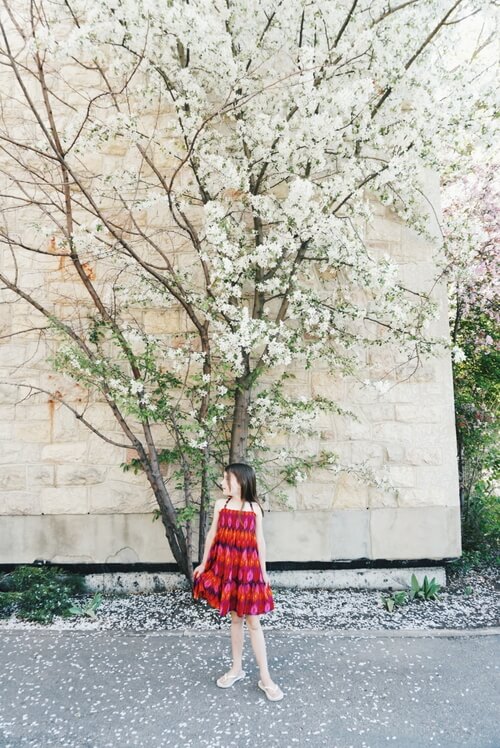
Here she is in the left third of the image.

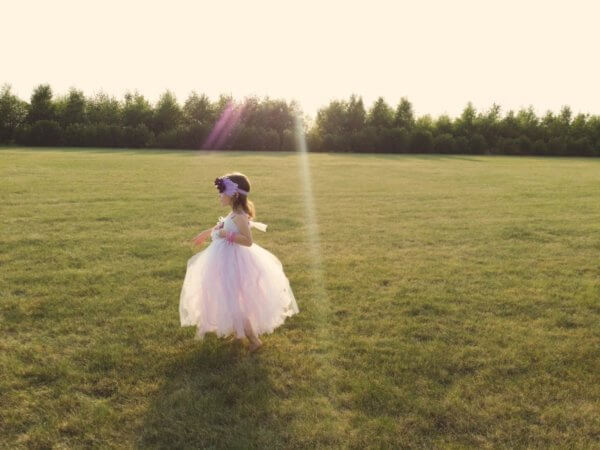
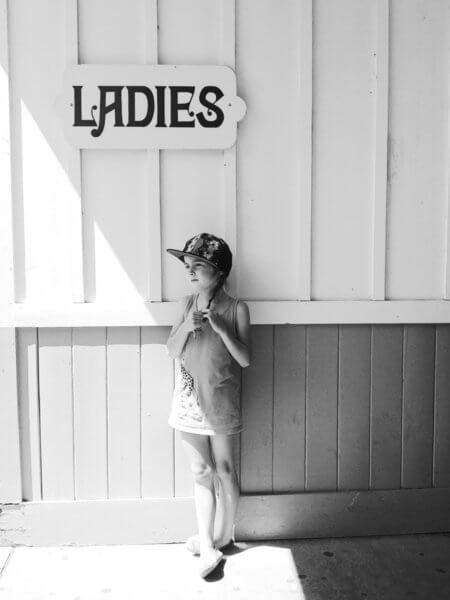
Here I’ve captured her in the right third of the photo.
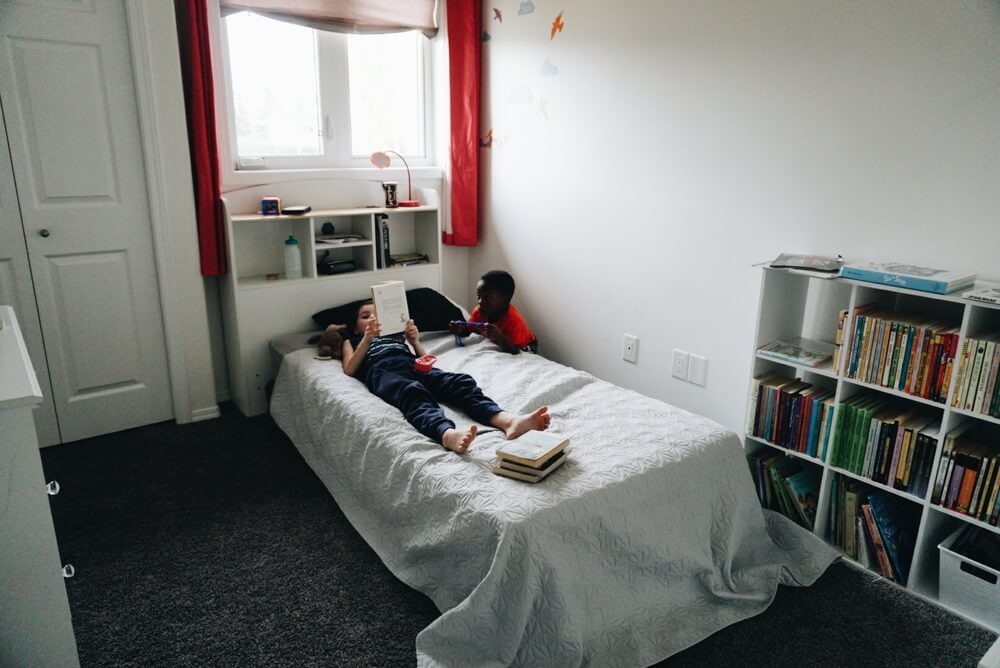
CLEAR THE BACKGROUND
I personally prefer a less distracting background when I take photos. I try to clear as much of the clutter as I can by zooming in or changing the angle I’m photographing from. I find a very cluttered background takes away from the subject I am trying to photograph so most of the backgrounds in my photos are fairly empty.

I took this photo at a higher angle by holding my camera above my head, this helped eliminate a lot of objects that would have been in the background at the top of the photo.

Here’s another one that I took from slightly above to block out some of the mess that was just beyond the top of the photo.
ZOOMING IN
We all know that zooming in can drastically change a photograph, but did you know that it can greatly reduce the quality? If you are using a zoom lens or your phone to take pictures and zoom in you are more than likely reducing the quality and are much better off being the zoom yourself. So, instead of standing in one spot with your phone and pinching the screen to zoom in, take a few steps forward so the image is more zoomed in, you may just be surprised at the quality difference!

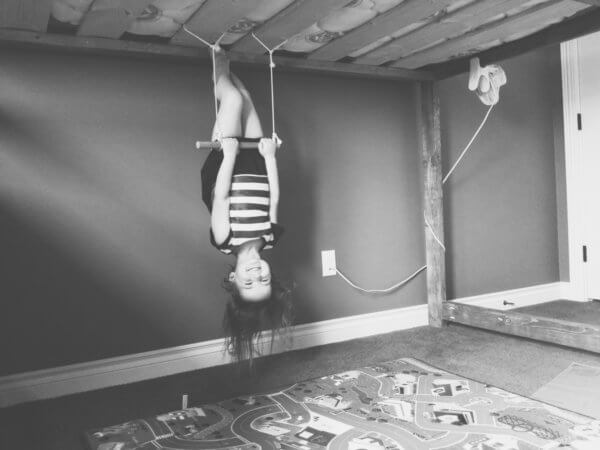
CHANGE ANGLE
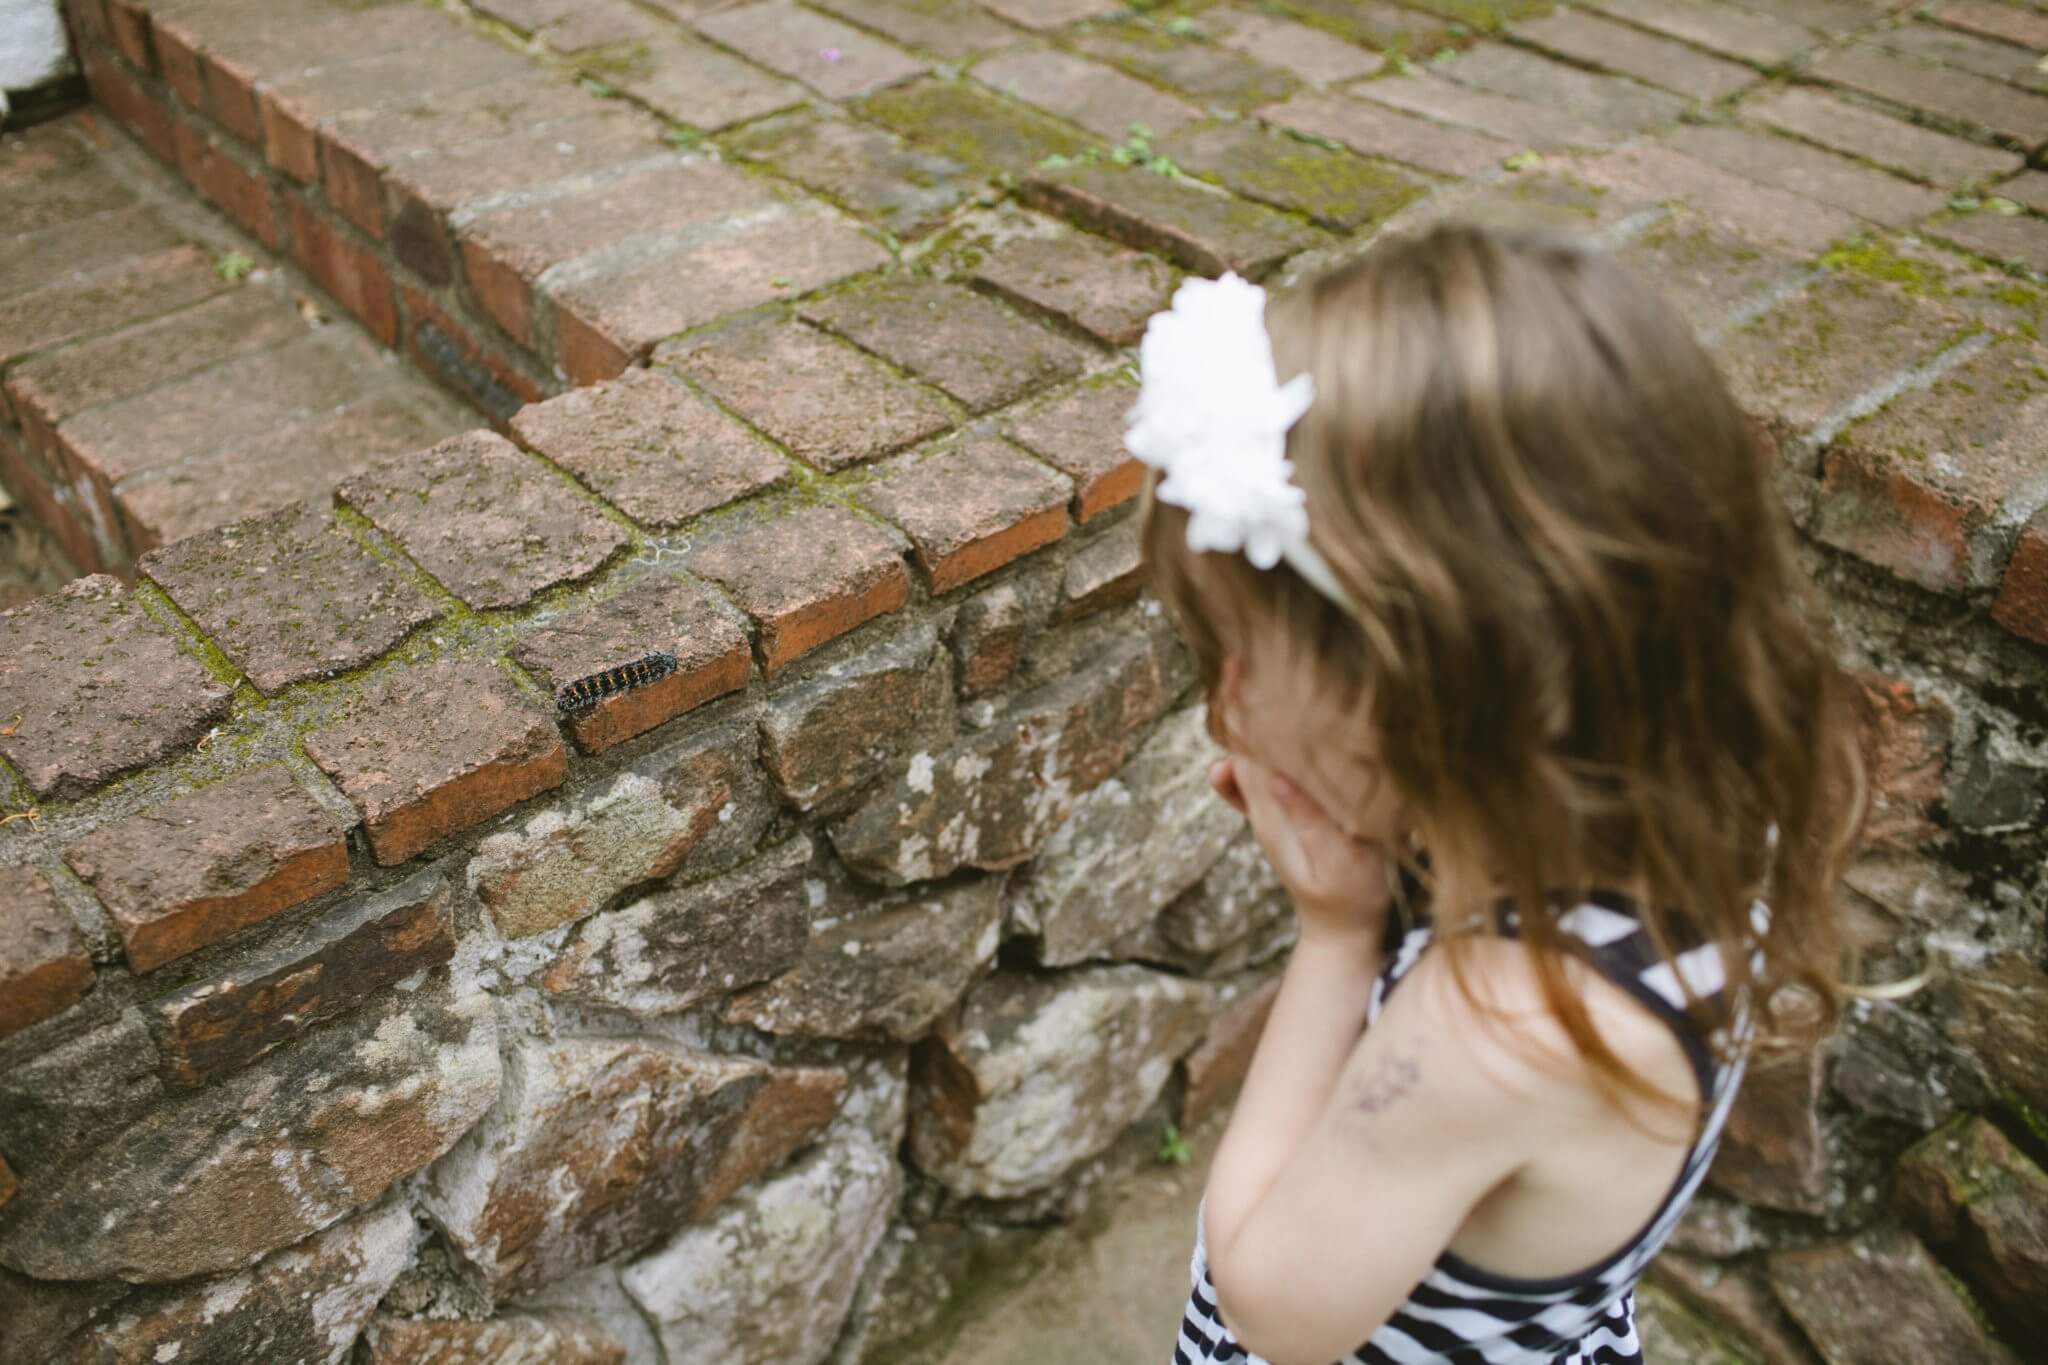
I already mentioned changing the angle to clear background clutter but it can also be a good way to add visual interest to your photo. As adults we are a lot taller than our kids and if you always take your photos while you are standing up you will always have a downward angle to your pictures. Try getting down on their level and taking some from there. Or get down even lower to make them look larger than life.
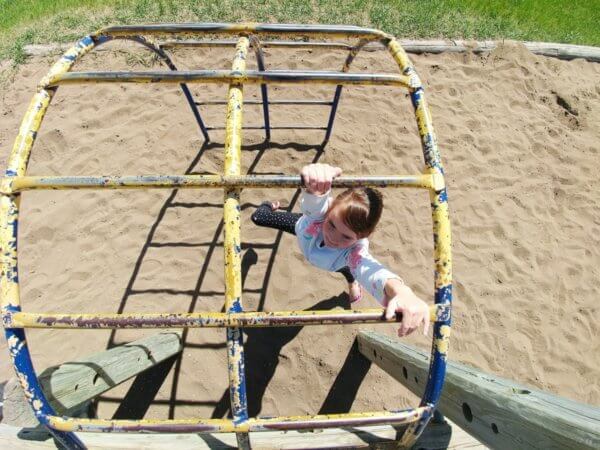
Instead of photographing her from the ground I climbed up on the play structure to get a shot from above.

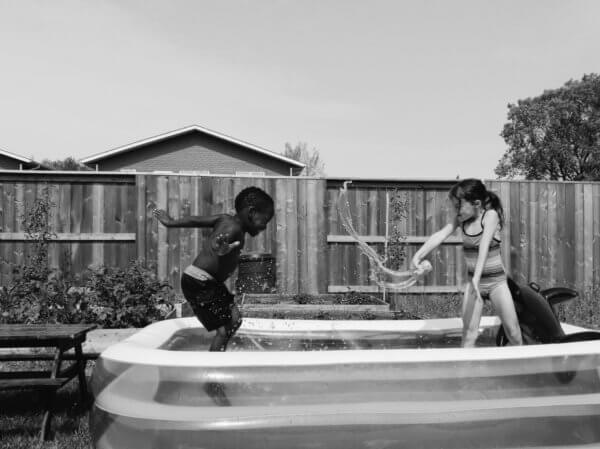
I took this one at an angle to get some of the water and her expression in at the same time.
PUT IT INTO ACTION
- take some photos practicing the rule of thirds – if you are using your phone, check to see if it has the option to turn on a grid – this will bring up the lines for you!
- when taking a photo try to move around so you can clear the clutter out of the background
- remember, when zooming in, always move yourself instead of zooming in the camera!
- just to test though, try taking a photo of a person where you pinch by zooming with your camera and then take a similar photo but take a few steps to zoom instead, then compare the quality between the two photos, can you see the difference?
- try taking photos at different angles to make the photo more interesting – try from above, below and off to the side
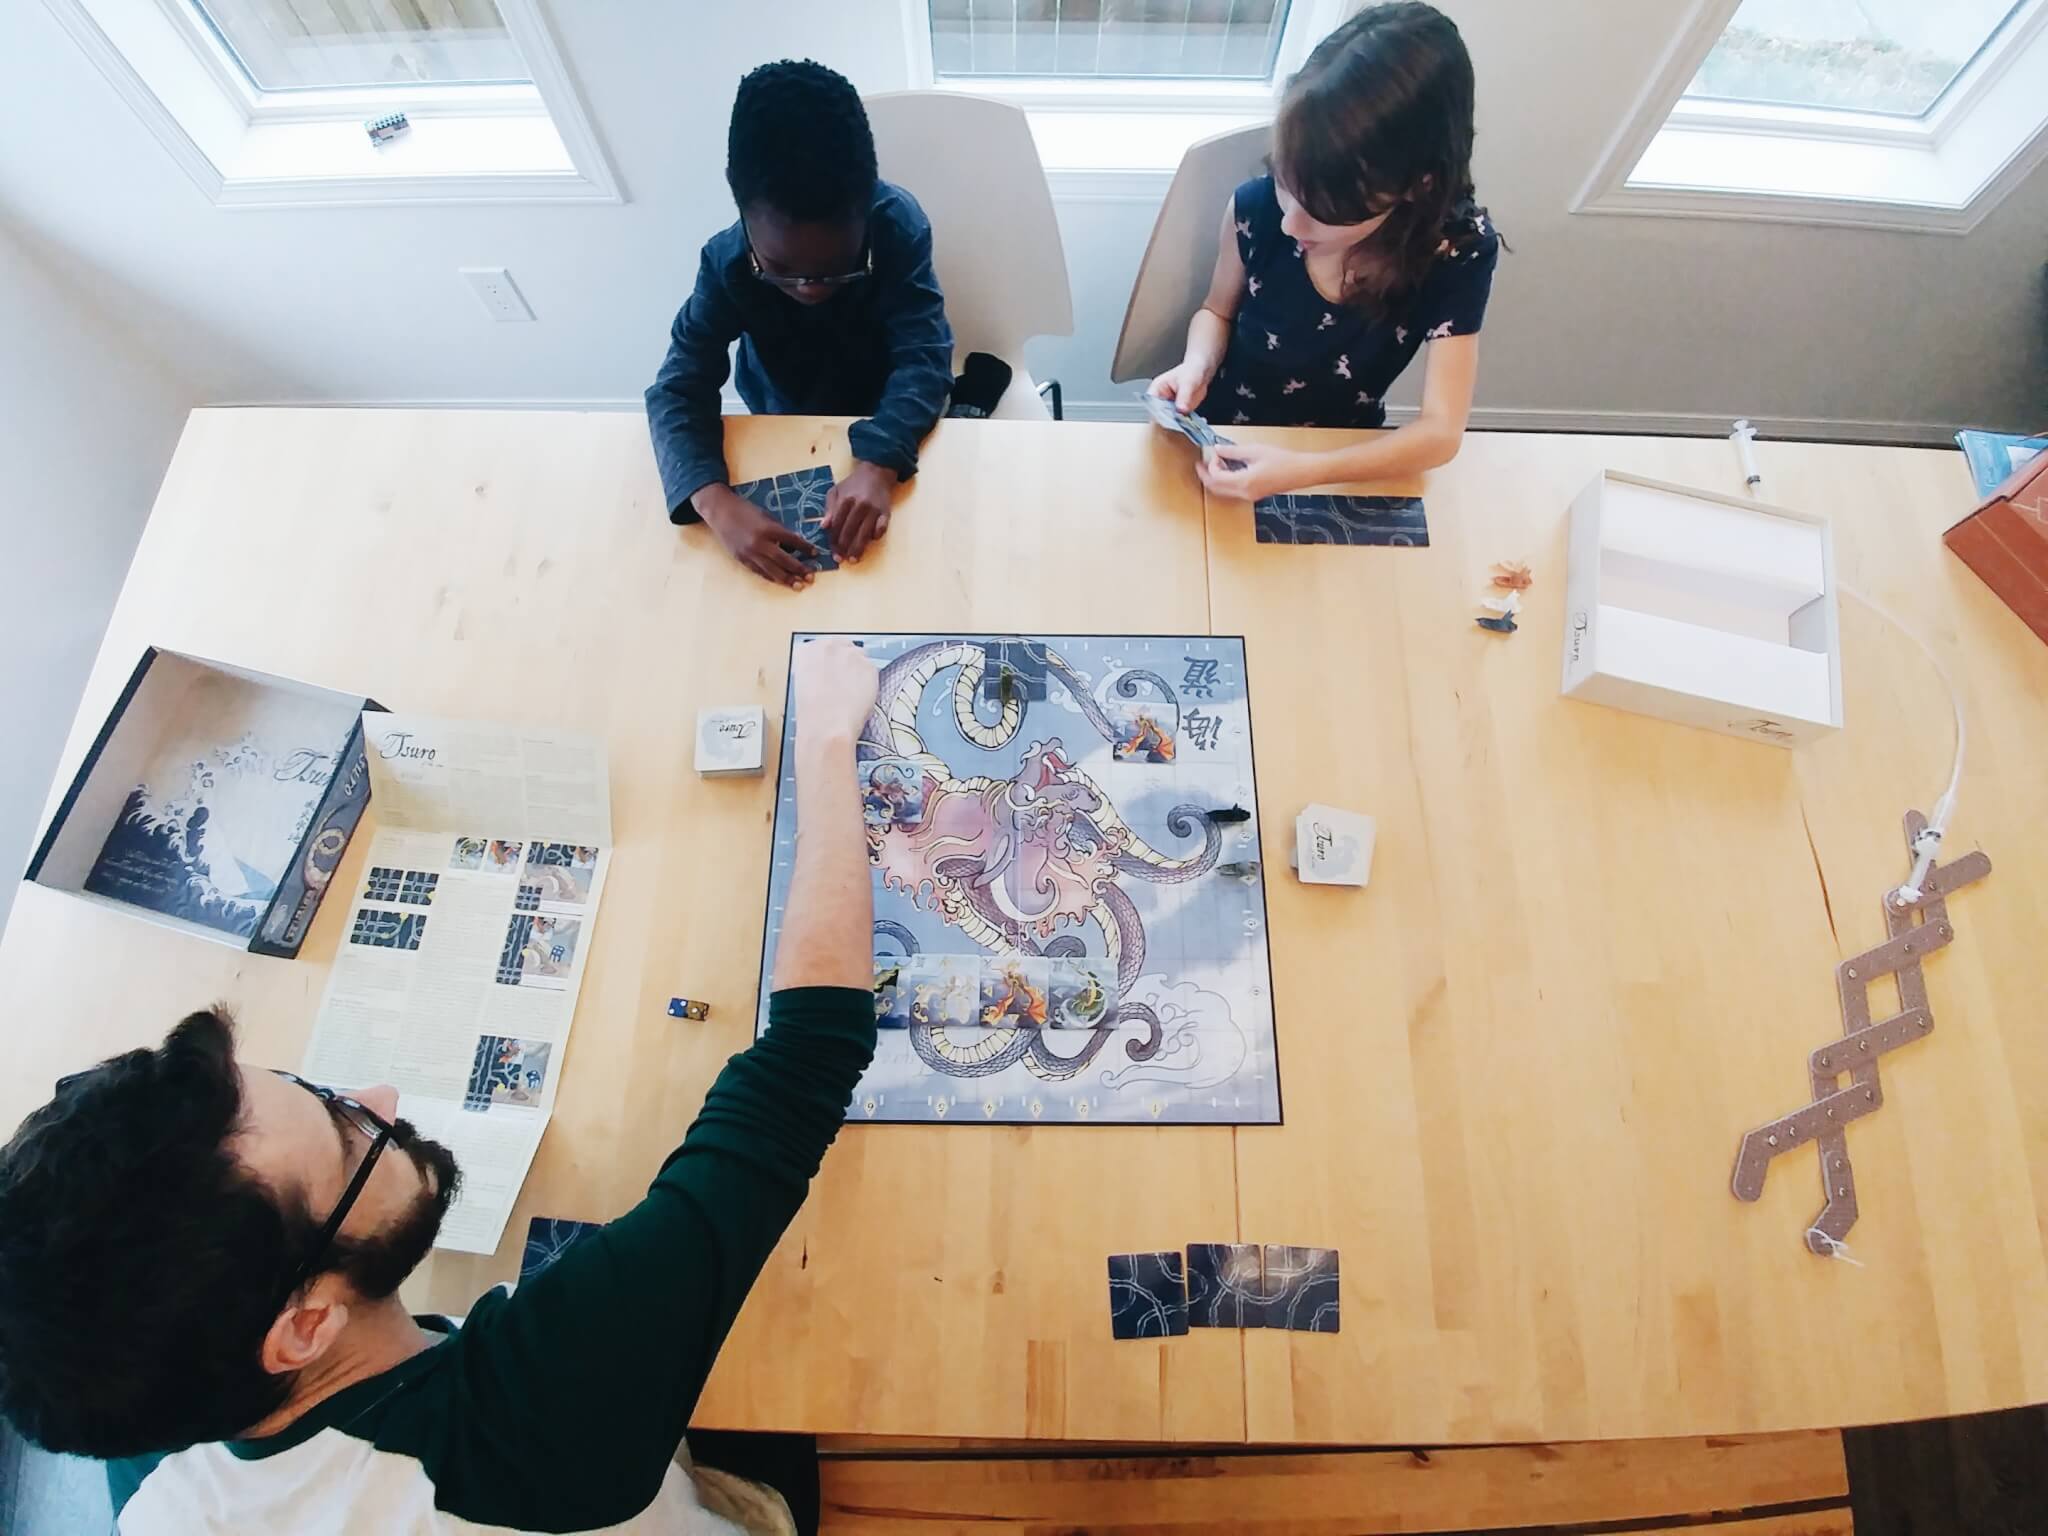
Module Two: Capture the Everyday
These are some of my favorite pictures to take. I love looking back and seeing photos of our everyday moments that I often would have otherwise forgotten about. I have a few different tips to help with your everyday photos.
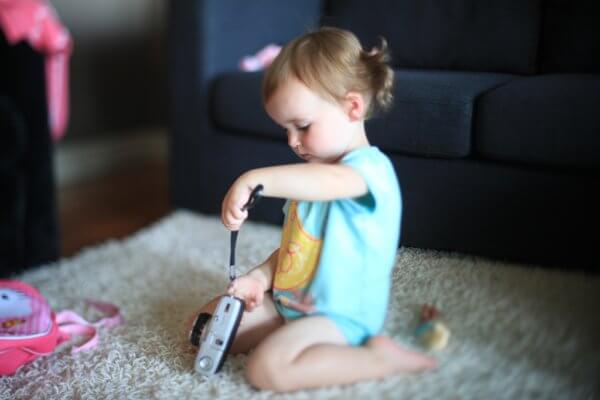
TAKE THE SAFE SHOT
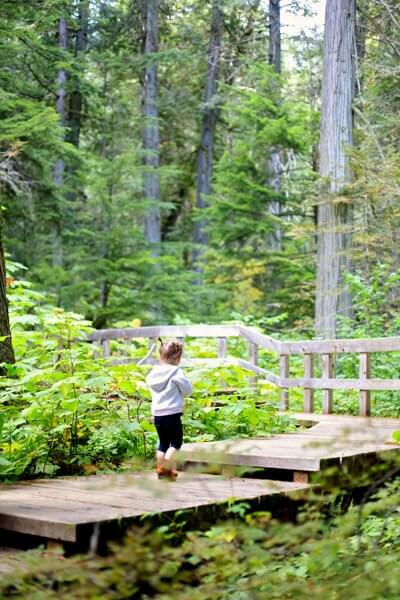
When I see my kids busy doing something I want to capture I like to start far-ish away, take a few photos and slowly get closer, sometimes they will look up to see what I am doing but they will usually just continue on with what they were doing.
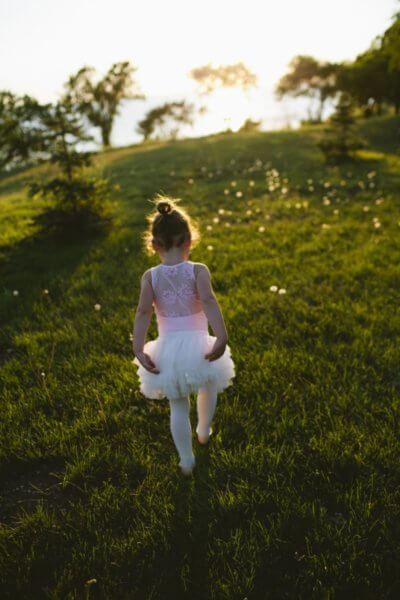
In this photo I captured her off dancing with a friend and I walked a little closer in order to get the second shot.
DON’T ASK THEM TO LOOK
This is my biggest tip when it comes to taking everyday photos of your kids and it’s such an easy one. I think in this camera age kids are getting sick of having cameras always stuck in their face and told to look and “say cheese” (once again, please don’t make your kid say cheese!). I find the more you ask them to look the harder it will be to photograph them.
I try to capture most moments as they are without ever asking my kids to look. They are so used to this and just completely ignore me when I have my camera out. This is great for capturing natural expressions and the odd time I do ask them to look they are more than willing because they aren’t tired of me asking.


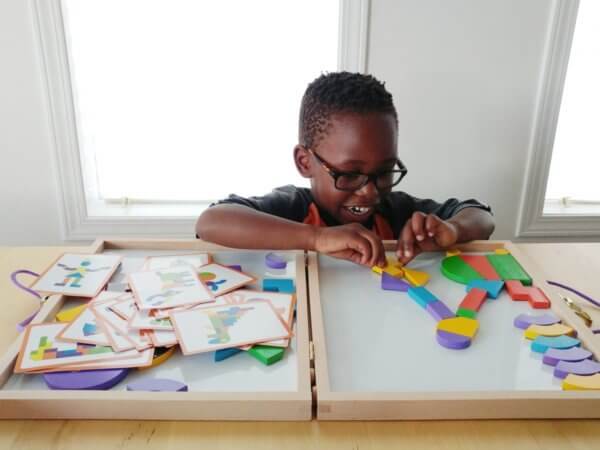


CAPTURE DETAILS
There are so many cute little details that we feel like we will never forget and as our kids get older, we always do, try capturing those details now! Photograph the little toes, the little habits they have, the way they suck their thumb, look for the things you think you will always remember and capture them now.
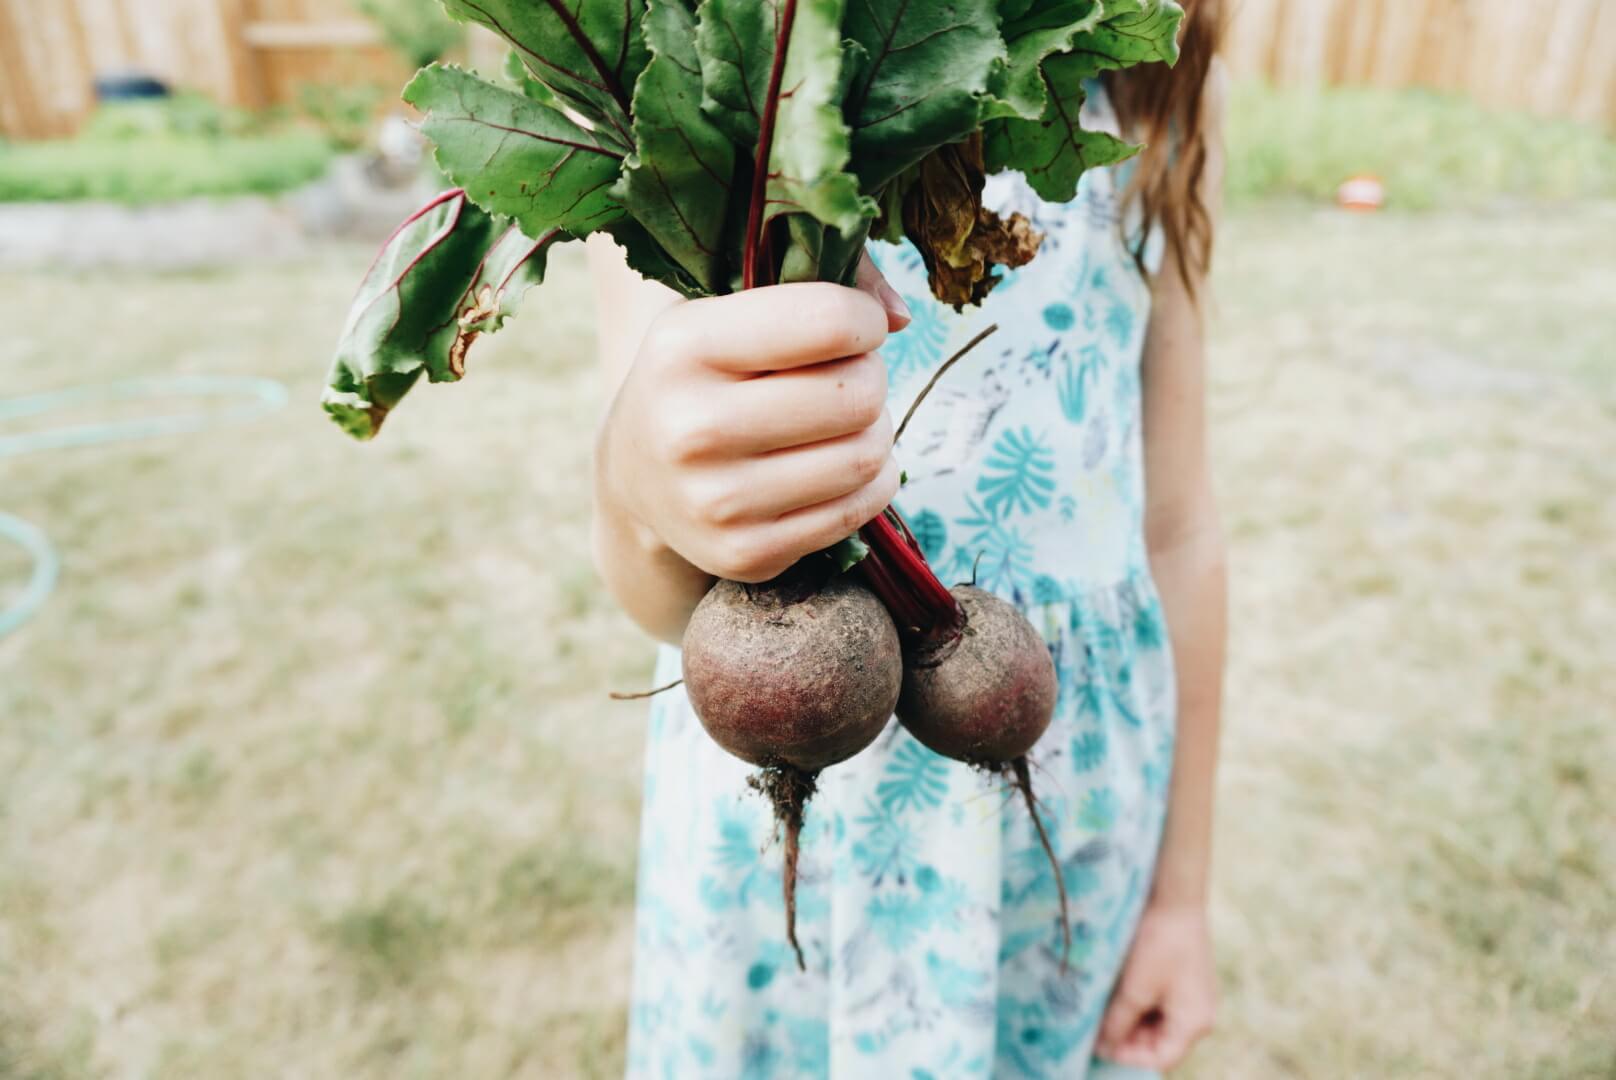
Here we photographed the beets she grew
DO A DAY OR WEEK IN THE LIFE CHALLENGE
One of the hardest parts of capturing the everyday moments is just remembering to take photos! A good thing to do to get in the habit is join some kind of photo challenge. You can do a day in the life challenge where you take a photo every hour on the hour or a week in the life where you take a few photos each day or even one of those 30 day photo challenges that are floating around the internet.
At the end of this course I have a week in the life challenge for you with a few prompts to help get you in the habit of taking photos each day.
For me, sharing photos on Instagram and on my blog have been my major reminders to keep taking photos and I’m thankful for that.


PUT IT INTO ACTION
- become the silent paparazzi and photograph your children just doing their own thing
- remember: don’t ask them to look
- and take your first photo from far away and then take more as you get closer
- look for the little details and photograph those
- do a Day in the Life Challenge
Module Three: Create a Mini Photo Session
If you want to have a little more of a “photo session” with your kids I have a few of my favorite ideas here. While I love having pictures of the everyday moments it is usually the more “set up” photos that I get printed.
SET THE SCENE
Sometimes all you need for a little photo session is a pretty backdrop, put them in front of it and then let them do their thing.
I will often say, “stand here and look at that” or “twirl for me”, etc, and just snap away while they are doing that.


LET THEM BE SILLY
Actually –encourage silliness and join in! Not only will you get good photos of all sorts of different faces they can make but once they are done with being silly the real smiles come!

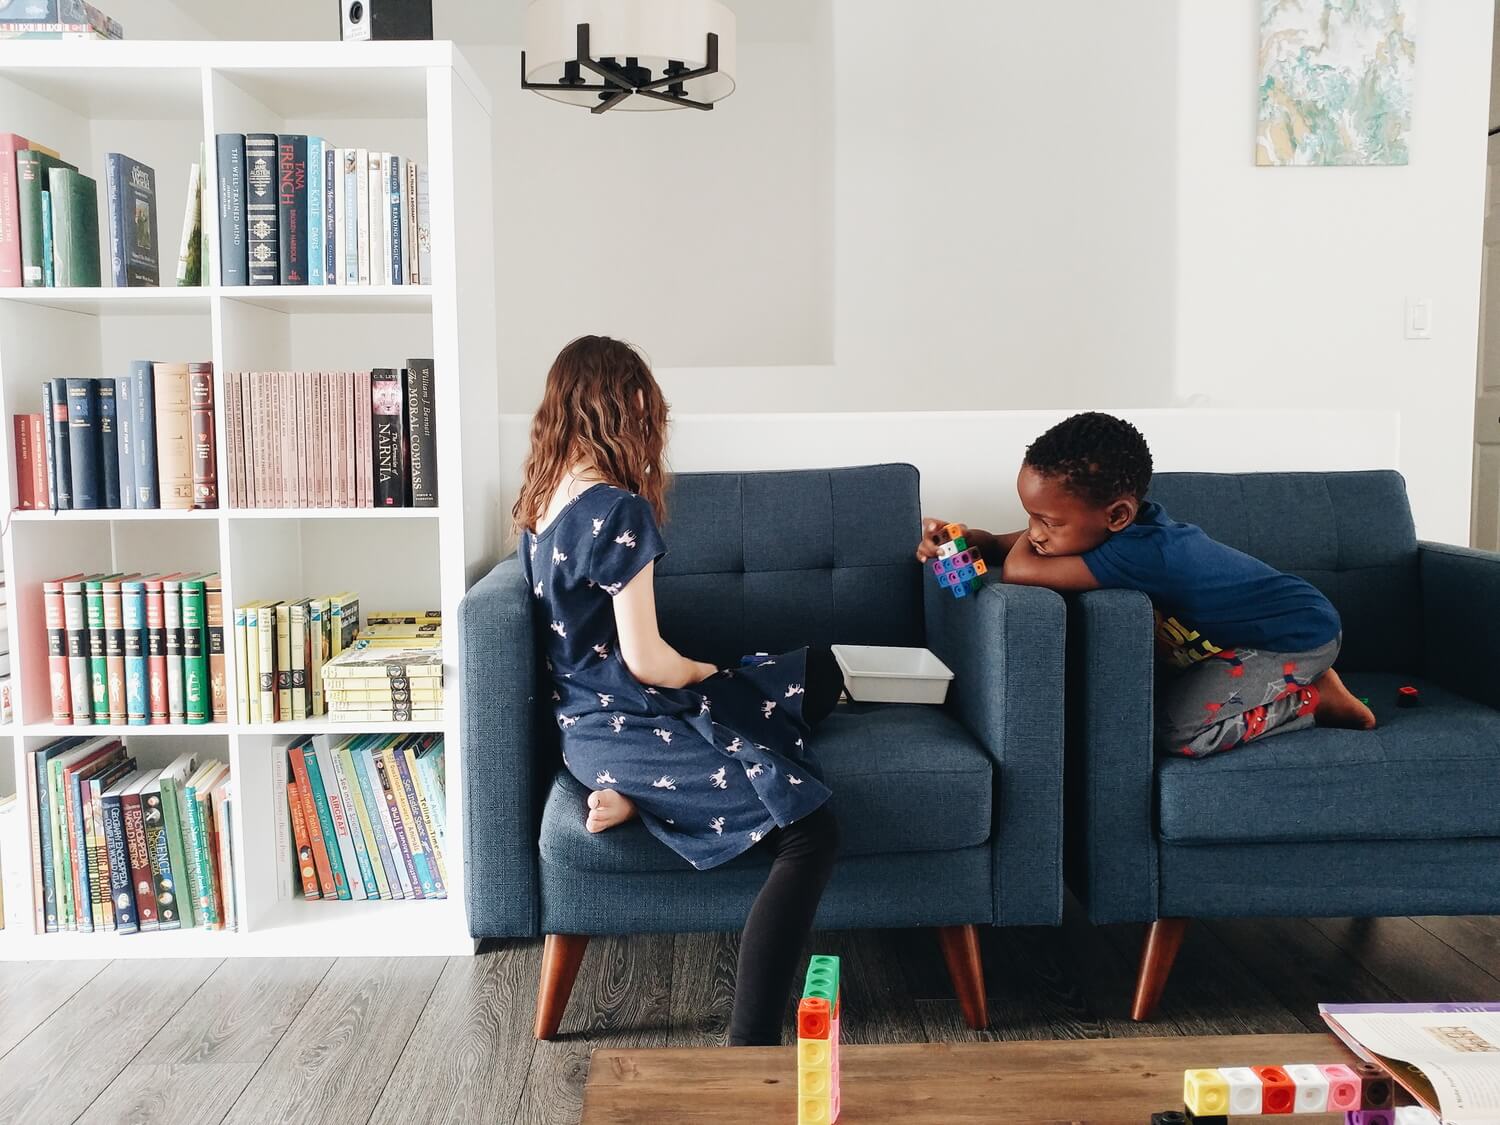
In these two photos I told him to build a tower and then knock it down, every boys dream.


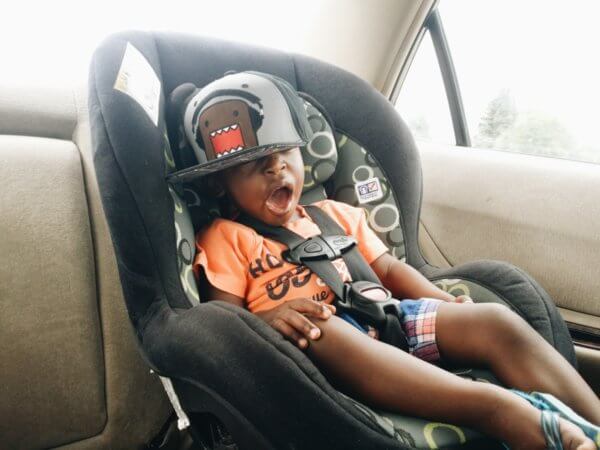
TELL A JOKE
Kids like movement so if you have them ready for a picture but smiles aren’t coming try having them (and you too) jump up and down, shake around and have a good roar. Or if you have kids that are a little older -have a bunch of funny jokes to use! Or if your family has any inside jokes, use those.
Here I told her she had been “drinking” from a ketchup bottle. Loved her reaction.

“DON’T SMILE”
Reverse psychology is great. Littler kids will start smiling right away while bigger ones will generally be able to keep a straight face for a little longer before breaking out in a big, natural smile.


TIPS FOR PHOTOGRAPHING BABIES
Sometimes shaking a toy above your camera can interest a baby long enough to get a good photo, bonus points if the toy makes a noise of some sort. For kids that are almost out of the baby stage and almost into the toddler stage I like to say their name in a sing-songy way to get them to look.

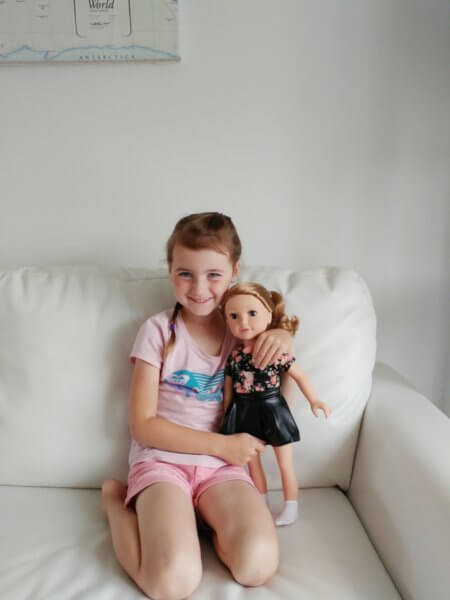
USE PROPS
It can be fun to go all out with a photo session, though sometimes all you need is one little prop. I like to use a favorite stuffed animal, a doll, etc.


USE BRIBES
You can also use some “props” that are actually more like “bribes” – just keep in mind that if they are messy ones you’ll want to save those for the end.

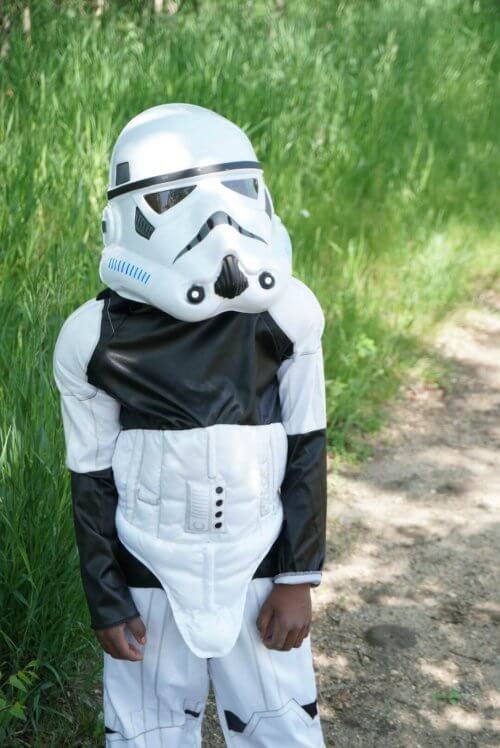
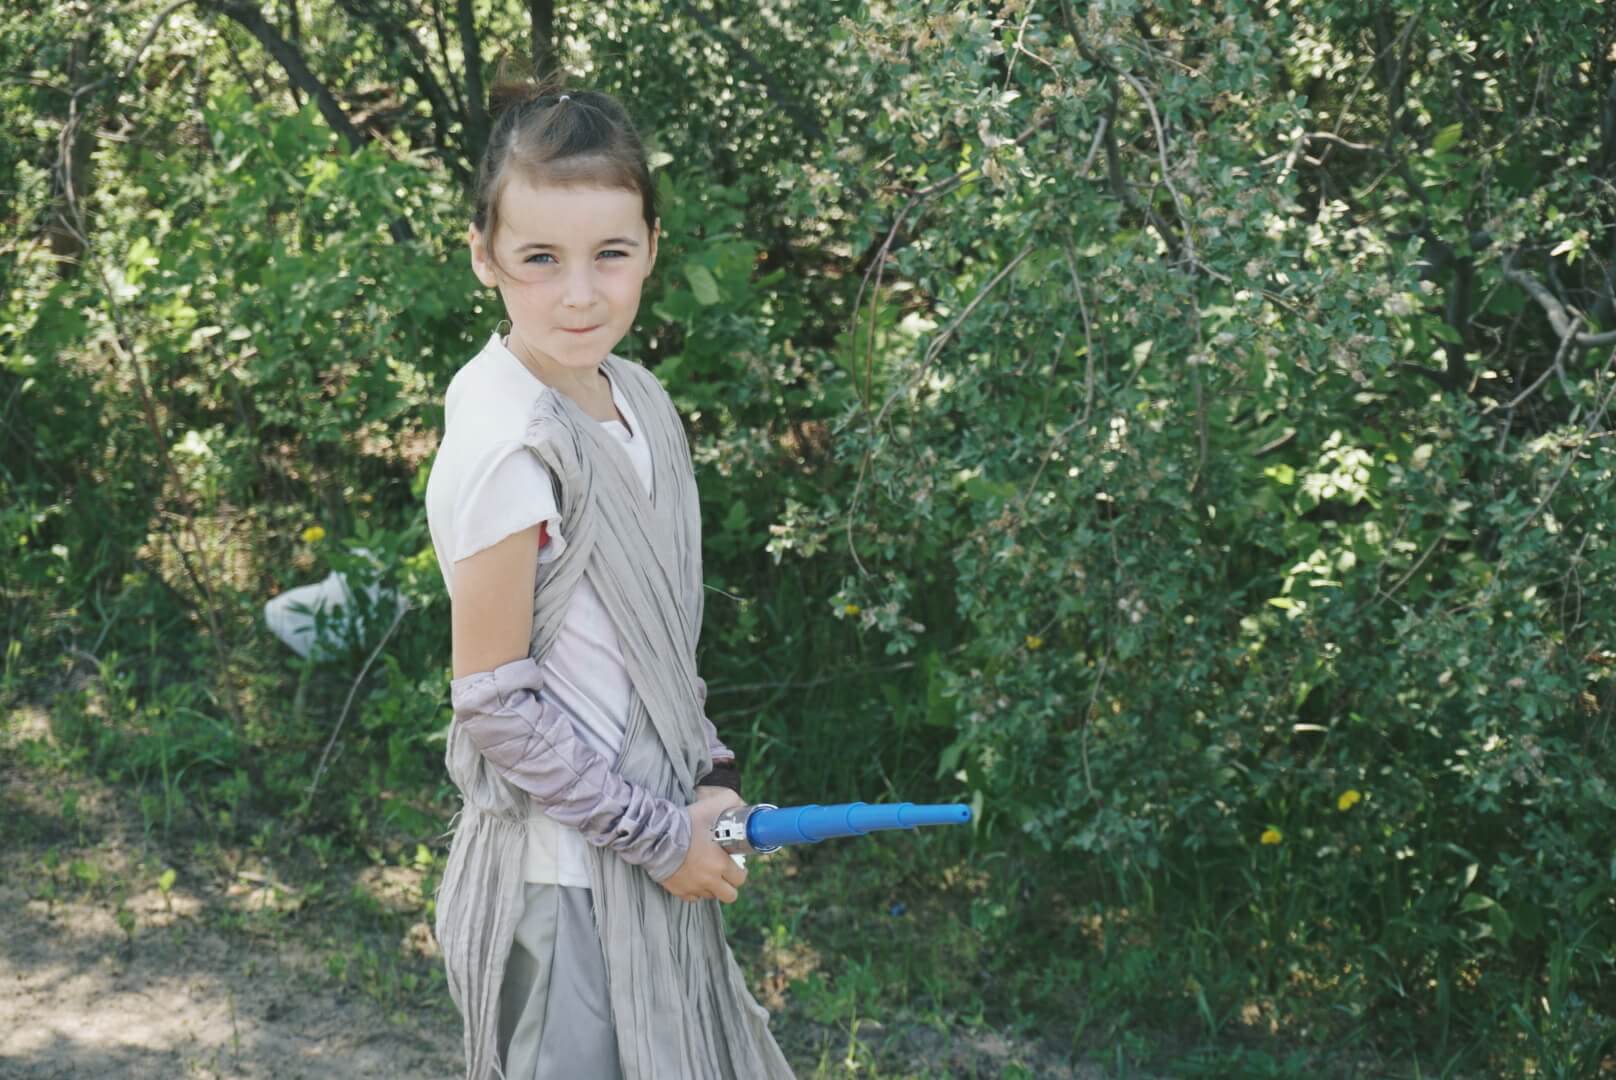
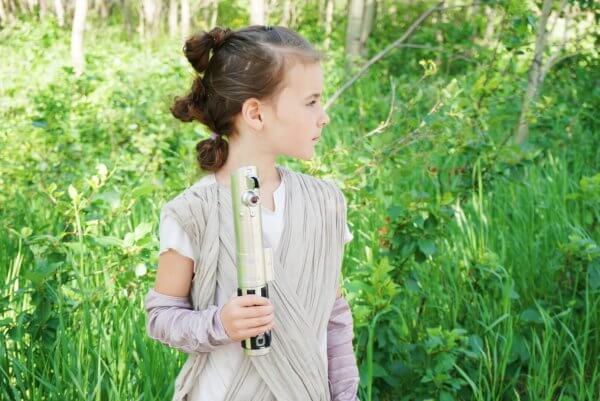
GO ALL OUT
Alternatively you can go all out for your little photo session and set the scene with more than just one prop. My kids have loved their Star Wars photo shoot we did and one of my personal favorites has been the tea party I set up for my daughter years ago.
The key with this is to make sure it involves something they love. It’s pretty much impossible to take a bad photo if they are surrounded by their favorite things.


PUT IT INTO ACTION
- find a fun or pretty background and ask your kids to stand in front of it, let them be silly or ask them to twirl and snap away while they do their thing
- use props and bribes
- go all out and create a mini photo session using things your children love – these will be photos to cherish!
Module Four: Lighting
Lighting is huge when it comes to a good photograph. I’ve been known to choose to not take a photo in low light and just enjoy the moment rather than take a sub-par photo, that doesn’t mean you always need to pass up a photo that will be a little darker, I’ve just come to know my particular photography style and I like bright, naturally lit photos so that is usually what I aim for.
NATURAL LIGHT
I will choose natural light over artificial light every single time. I love taking pictures outside or in the brighter spots in my home. Natural light does not mean your subject has to be directly in the sunshine – it’s actually better if they are just beyond that so they get the brightness of the sun without blowing out your subject.

GET THAT EYE SPARKLE
When we look at a photograph of a person our eyes are always instantly drawn to their eyes. How the eyes look can greatly affect the quality of the photo. If the eyes are really shaded and dark the photo won’t be nearly as good as when you can catch the light with them and they sparkle.
To capture the sparkle you’ll want them to turn their head towards the light source (either the sun, a window, a light or lamp), once you see the eyes catch the reflection of the light that’s the moment to take the photo.


BACK LIGHTING
My absolute favorite kind of light is back lighting in the evening shortly before the sun goes down. The light is coming at a low angle and is such a beautiful golden color at that time.

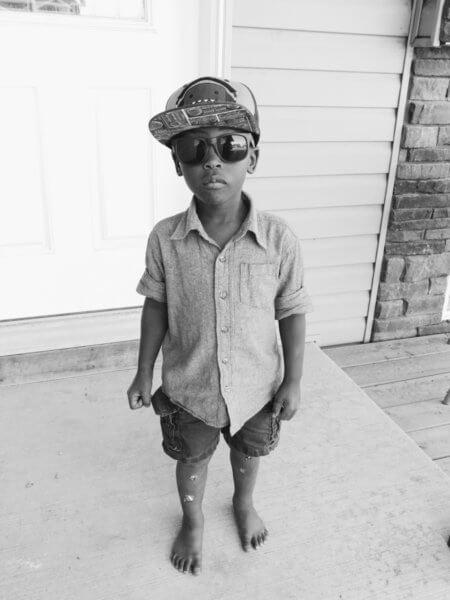
ARTIFICIAL LIGHT
Artificial light is harder to work with because it is usually a lot more warm than natural light, plus it usually comes at an angle, making some weird shadows. My biggest tip when it comes to artificial light is to make sure you have as much of it as possible or work the shadows to your advantage. If the coloring is off in your photo (usually too warm), you can adjust that in the editing process or work around the problem by turning the image black and white.

PUT IT INTO ACTION
- walk around your house with your camera in hand and see if you can find those special pockets of beautiful, natural light
- when taking pictures see if you can get that magical “eye sparkle”
- try to take some photos just before sunset and get some nice back lit photos
- experiment with artificial lighting, see where you have some good spots for taking pictures with artificial light in your home
Module Five: Editing
EDITING YOUR PHOTOS
Editing your photos does not have to be difficult or expensive. You can use a free phone app for this with great results. I have a few favorites, the easiest to use is VSCO. The app itself is free though you can pay for different photo editing presets.
I am going to show you a couple basic things you can do to take a decent photo to a great one just by using the free features in VSCO and then I’ll show you how you can use one of their preset packs to help you photos feel more cohesive.
Here’s the original, unedited photo:

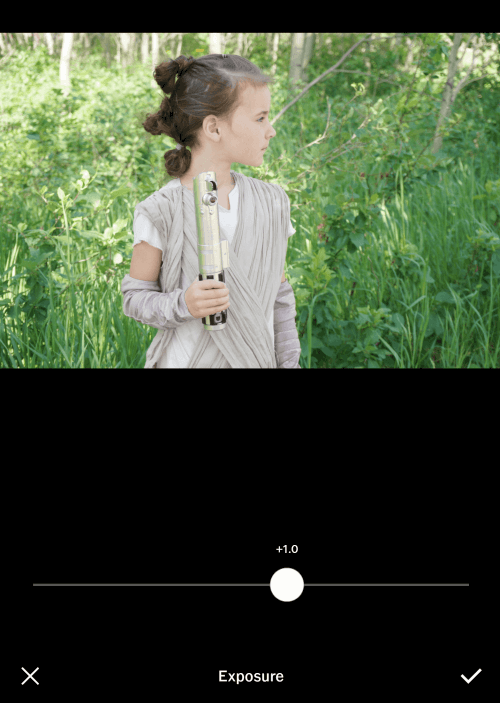
EXPOSURE
Adjusting the exposure brightens or darkens your photo. I personally prefer photos that are a bit more on the brighter side so I will usually start by bumping my exposure up.
Increasing the exposure generally does make the photo look more muted, but don’t worry, we’ll fix that soon!
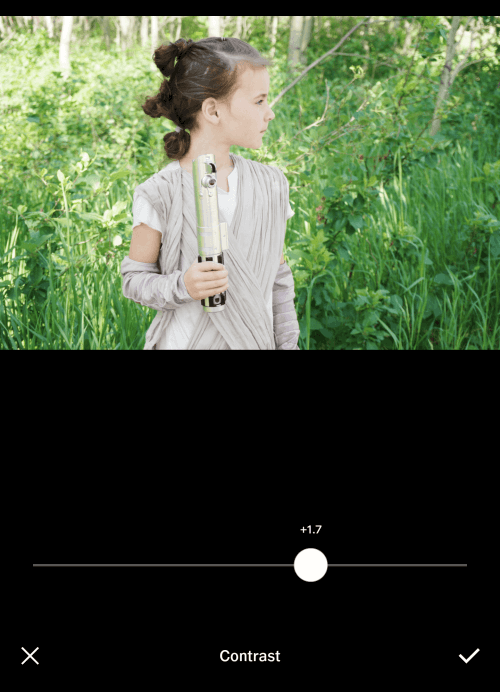
CONTRAST
After I adjust my exposure I like to bump up my contrast which helps makes my whites a little whiter and my blacks a little blacker. This can take a lack luster photo much more visually interesting even before we adjust saturation.
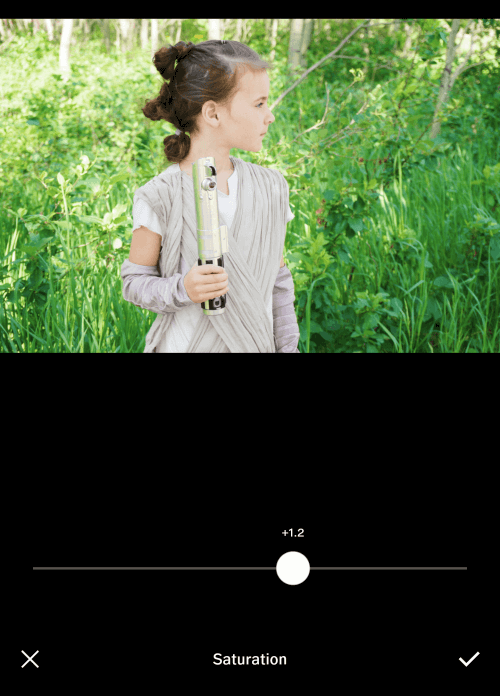
SATURATION
If you like your photos to be a little more on the colorful side you can go ahead and add a little more saturation to your image.
Now this is where I often stop. Sometimes if the temperature of the image is off I will make it a little warmer or cooler depending what it needs but I only need to do that 50% of the time or less.
If that’s where you want to leave your photo, go right ahead, while the tweaks are minor individually they do come together to make a much better image.
Here’s the before and then the after:
Adjusting the exposure, contrast and saturation can have varying affects on each photo, some will look more extreme after editing than others and if you want to take it one step further and have a bit more of a cohesive style when it comes to your photos I like to do this by using one of the VSCO presets.
They do have a few free preset packs as well as a number of paid ones. My editing style has changed over the years and I have had a few different favorites presets. Currently my favorites are in The Aesthetic Series, though in the past I have used Hypebeast x VSCO and Bright & Clean quite extensively.
I like to choose one of the presets to apply and then reduce the opacity at which it is being used.
PUT IT INTO ACTION
- download a free photo editing app on your phone, like VSCO
- pick a picture you like but feels like it needs a little help and adjust the exposure, contrast and saturation
- use a preset if you want, feel free to try a few to see what style you prefer
Conclusion & A Week in the Life Challenge

That’s the last of the modules!
Thank you so much for joining in for this photography course on how to capture better photos of your children! It is my hope that you will be able to capture those fleeting moments while they are here.
PUT IT INTO ACTION
To help you put what I’ve shared into action I’ve created a week in the life photo challenge for you to help create the routine to take pictures on a regular basis. Feel free to follow each day to a T, switch the prompts up or create your own, the whole point is to consciously take more photos.
If you do the challenge I would love for you to tag me over on Instagram!
DAY ONE
- brushing teeth
- snack time
- reading
DAY TWO
- breakfast
- chores
- outside
DAY THREE
- pajamas
- playing
- cuddles
DAY FOUR
- feet
- watching
- a favorite

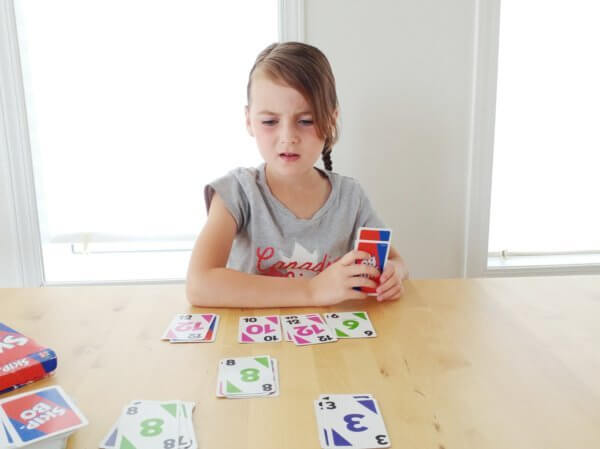
DAY FIVE
- game
- eyes
- dinner
DAY SIX
- errands
- a habit
- bed
DAY SEVEN
- relaxing
- dessert
- laughter
Enjoy capturing their fleeting childhood!